V8Roadsters Wilwood two-piece NC BBK
Written by
Why upgrade? What’s wrong with standard?
Let’s dive into the first question. Why upgrade over the stock brakes? How good are the stock brakes? This is a fairly common question in the groups. To answer that short and fast, the answer is for stock or 200bhp cars they are plenty adequate. Let alone with upgraded pads such as Carbotech XP8’s, Roddisons, PBS Pro-Race just to name a handful. Just make sure whatever pads you choose can work from cold if it is your daily or commuting vehicle to the track. However, once we get into engine setups that can produce easily over 200bhp we need to start to consider upgrading the callipers and going to a slightly larger disc. Again mentioning the pads compound needing to work from cold isn’t only for performance and safety concerns but, because a race compound does not have enough heat into the compound will run cold and will eat away at your new discs very quickly. Make sure you do your due diligence when you’re considering different pads.
What choices are there beside standard brakes?
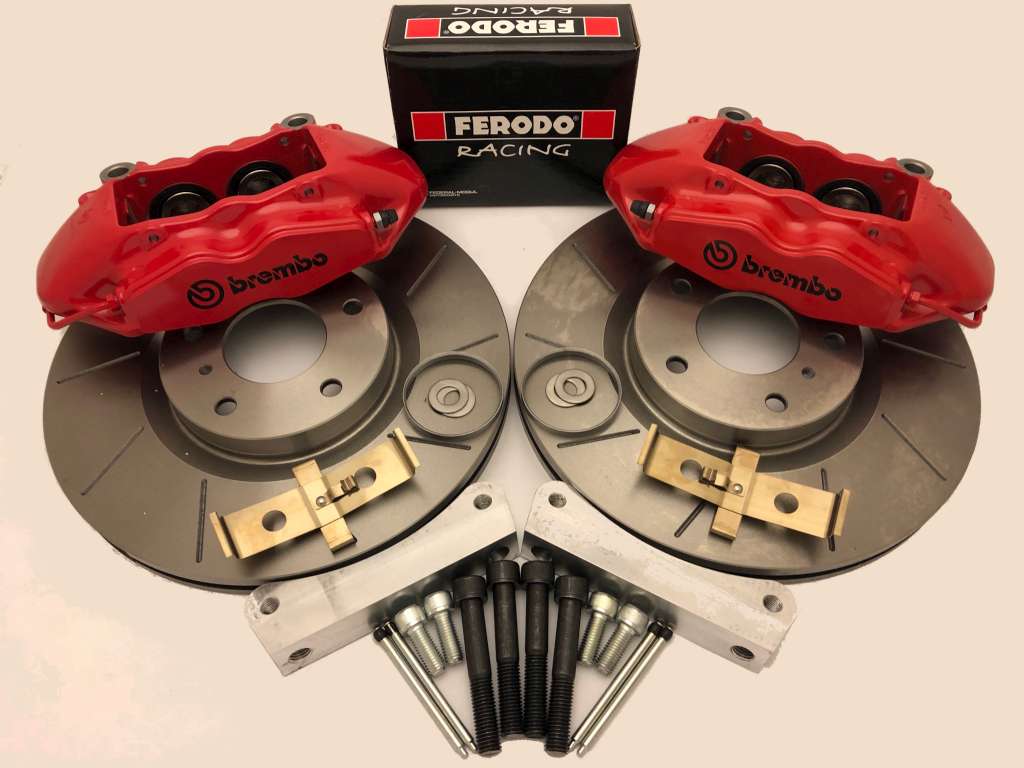
So this then opens the door to the aftermarket scene. What big brake kits (BBK) are there for the NC as of writing this article then? So depending on how you intend to operate the vehicle you have many options. I’ll start with a strongly recommended BBK for most 200-400bhp area cars which is the BBK from Stewart at FreakyParts. He sells a very strongly suggested Brembo BBK that uses his custom calliper brackets to fit Brembo OEM Renault Megane callipers. Many people go this route as the overall cost of this kit is about £1000. Very good value for money. The discs or rotors depending on where you are from in the world are a one-piece design as opposed to a two-piece rotor-hat and rotor-ring design. I’ve heard this kit works well with the standard rear callipers too.
Which in itself is a massive pain to upgrade due to the parking brake feature and doing so at a very low cost is nearly impossible. Some kits come with four-piston rear callipers that also come with a separate calliper for the parking brake. Which in itself begins to overcomplicate the setup. But is necessary on extremely competitive track cars running over 600bhp. Don’t think you need that type of setup on a fast road or light-use track car with the same power as your better upgrading the rear discs and pads. Some even do RX8 oem rear brakes. A far more cost-effective solution.
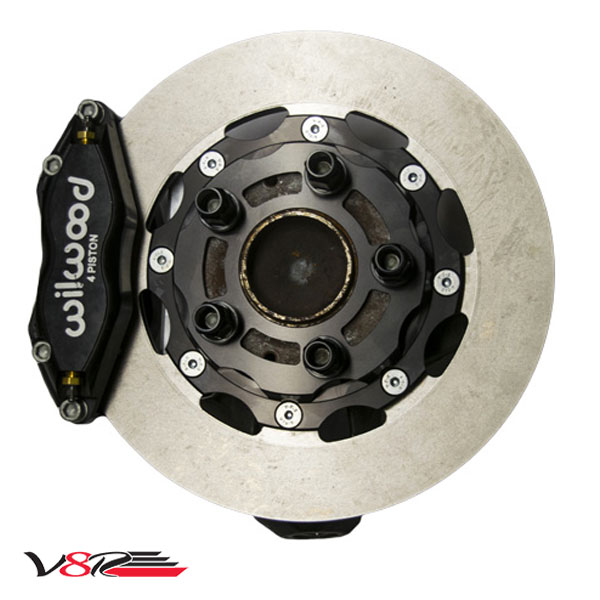
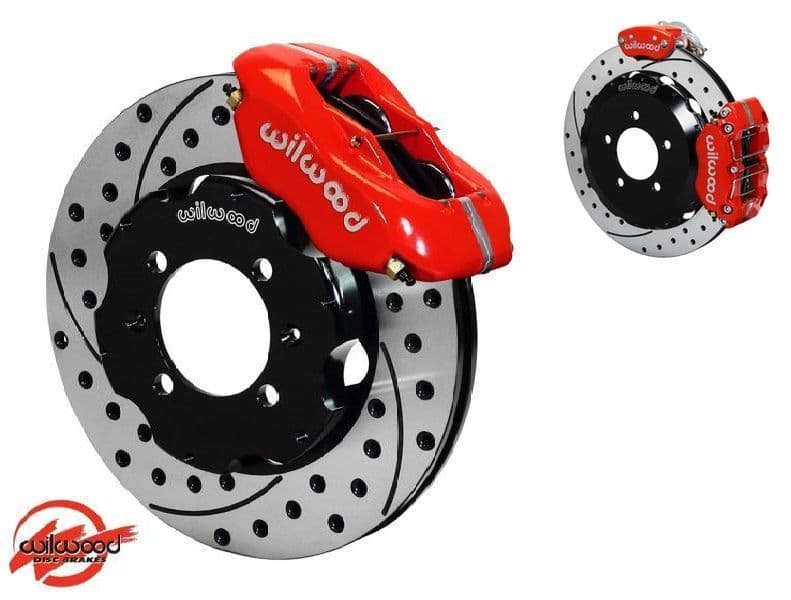
I’ll move on to my personal choice for my vehicle. The V8Roadsters Wilwood four-piston BBK. This kit includes a two-piece rotor design. This is nice so you only have to replace the rotor-ring instead of the whole disc assembly. This allows V8Roadsters to make the disc assembly extremely light even with the larger 12.19″ rotor option that I chose. This essentially means less un-sprung weight which is great for road or track cars. For those not familiar with the term. It refers to the total weight of every component that is not supported by the vehicle’s suspension system such as the chassis, engine, drivetrain etc. This kit also includes two stainless-steel braided front brake lines. Most kits will include the same. It’s worth mentioning here if you haven’t already swapped out your rear brake lines to braided ones, the pedal feel is more consistent. What I like about this kit is the use of AN4 style fittings instead of the traditional banjo bolt and copper crush-washer affair. The callipers this kit uses are Wilwood Dynapro four universal callipers. Hence the four brake-bleed nipples.
The kit comes with Wilwood BP10 compound pads. Great for use from cold but not a true track/race pad. Meaning if you wish to use this kit for track and commuting your best bet is to carry two different pad sets. For the different operating temperature ranges. As suggested by Dave Moore. This kit including import tax duty cost me about £1500 and works well with the OEM rear brake setup.
Lastly, let’s look at the most overkill option for most of us. Goodwin-Racing NC Monster big-brake superlite kit. This setup is the bee’s knees for those seriously competitive on track. You will never need this kind of setup for street use. But if you’re running around 600bhp and are a dedicated track-build this is exactly what you need. The cost is steep but these are using Wilwood callipers and these would typically be used without ABS and/or a brake-bias valve so the setup can be optimised depending on track conditions etc. This kit is about £5500.
Why I went with my choice
I’ve always wanted a two-piece rotor design since I got into modifying cars. They just look nuts. Just like the over 1000cc injector bragging right lol. So truthfully, that was my main reason. Second was the weight savings over using a two-piece design and the economical point of view of just replacing the pads and rotor-ring. Instead of the hat section of a single-piece design. Thirdly was the ease of access to the replacement parts worldwide. I can get these replacement parts for a fair price pretty quickly. I went with the V8Roadsters kit over the Goodwin-Racing (GWR) kit as many forum members of Miata.net suggested them because the rotor-hat powder-coating is far better than the GWR kit. I can confirm that once fitted the kit looks the nuts. The last reason is this kit is a radially mounted calliper setup. Which is better than an axial setup. The short explanation is, that the positioning of radially mounted callipers allows for more rigidity or less torsional flex (lateral movement) which translates to a firmer and more consistent brake pedal.
What’s involved?
This is not an installation guide but a glimpse of what’s involved. Once you have removed all the OEM parts you should start by fitting the stainless-steel (SS) braided hoses to the hardline union fitting in the inner wheel-arch. Then clean up the OEM carrier bracket bolts up with a brass wire wheel, clean with brake-clean and install. Torque them to 100Nm. I also use a yellow Edding paint pen to mark two lines on the bolt and calliper bracket. So should they move I can visually see and catch the problem before it turns into a fatality. Then assemble the disc assembly. Torque the serrated flange nuts and countersunk bolts to spec using a minimum of a two-step process gradually increasing torque to the final figure mentioned in a star-cross pattern. That is mission-critical. Starting at 18ft-lbs (25Nm) and then final torque at 28ft-lbs (38Nm). I suggest using a paint pen to make a small mark on each nut after you’ve done the final torque value. Then proceed to check them in a ring until you come back to the first one. This will ensure they are 100% the same torque and ultimately the same clamping force.
Then install it on the vehicle using your lug nuts to hold the disc on until the calliper is fixed. This kit does not use the countersunk screws to retain the disc while the wheel is off. Once driven the calliper will hold the disc on when lug nuts are removed. As the lug nuts provide the clamping force for your discs, not the countersunk screws. That’s why it’s important to torque your wheels to spec. Which is 114Nm in a star-cross pattern. Fit the calliper using the supplied spacers and cap bolts and work back and forth until the calliper is snug and no gaps can be found between the calliper and spacer and spacer and bracket. This can be done with a 3/8″ ratchet. Then torque those radially mounted bolts to 50ft-lbs (68Nm). I then paint-pen inside the cap-head.
Install the 1/8NPT male to 90 AN4 steel fitting using your PTFE tape as shown on the Wilwood website. Link here. This is not an installation guide. This is just to show you how easy they are for a competent car guy or girl to install themselves. Follow the Wilwood datasheet for the correct brake line fitting installation. If you have any doubts about bolting the bracket and callipers together speak to a professional mechanic. DO NOT chance it. Your life is worth more than the cost of a mechanic’s guidance or installation fee.
It’s worth noting you will need Teflon (PTFE) tape for the brake-line fittings. That is not included but is extremely cheap and can be found almost anywhere.
Do I recommend these to other owners?
So I was recommended these by Lawrence Lindsey-Dean as that is what his Honda K24 NC runs and I will agree they are worth their cost. I purchased the whole package from V8Roadsters but you can go the cheaper route like Lawrence and just buy the rotor-hats and calliper brackets and nuts/bolts and brake hoses then source the rotor-rings, callipers and brake pads within Europe to save a couple of hundred quid.
Brake pads
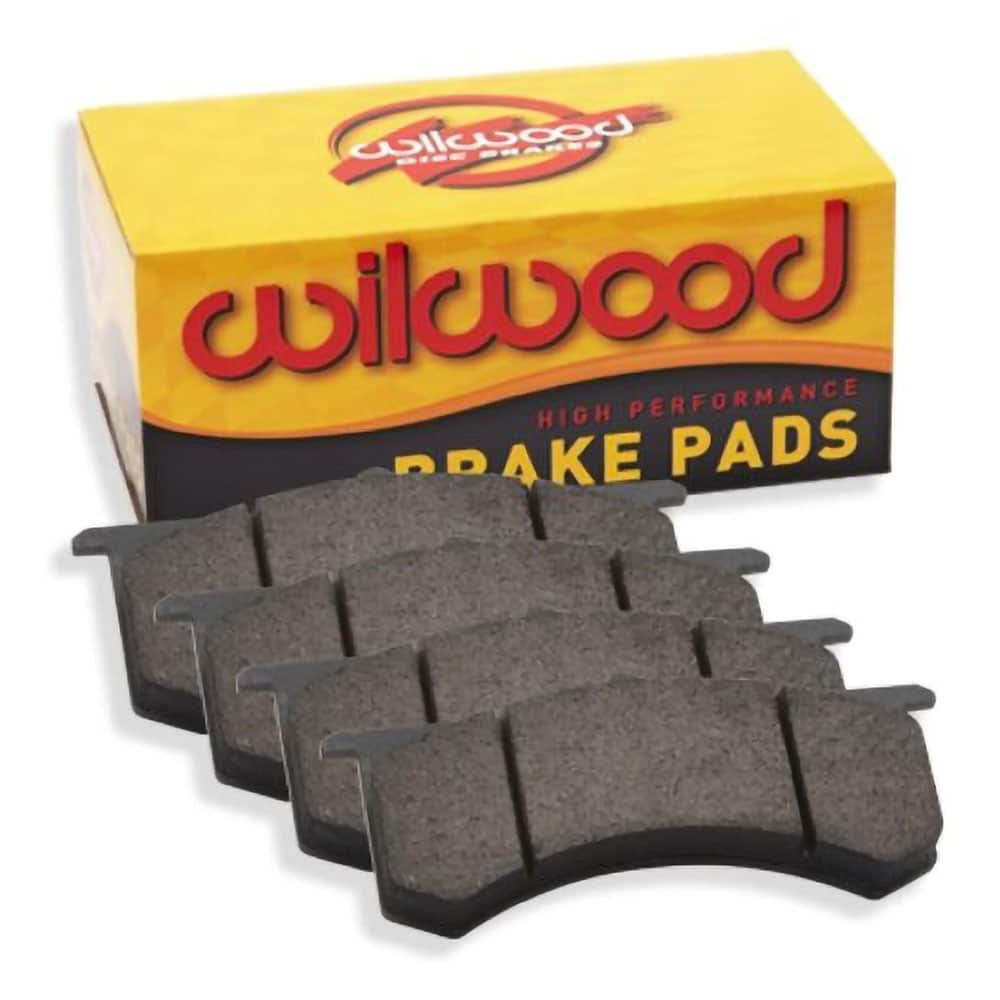
I will be using the Wilwood BP10 brake pads for street use and if I need better pads for track I will swap for track-only race pads at the track. I am using the tried and tested Motul RBF660 racing brake fluid. That is recommended for any spirited driving. It’s worth noting if you haven’t already before you bleed the brakes, fit a Hel SS braided clutch hose for a more consistent clutch pedal feel. Since the clutch and brake masters share the same reservoir do it at the same time. Thank me later lol.
Bleeding hydraulic systems on a NC
To bleed the brake and clutch lines on a NC you can use a Gunsons Ezeebleed or Motive Power-bleeder.
Join the discussion